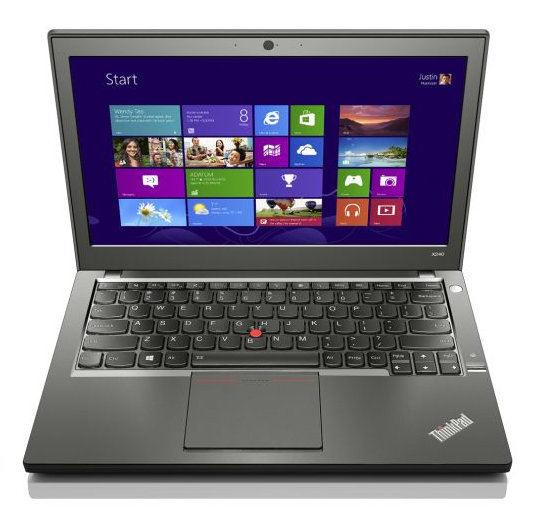
This is a stock photo of a Thinkpad x240, stolen from the interwebs:
This is my own x240, which I bought back in January 2015.
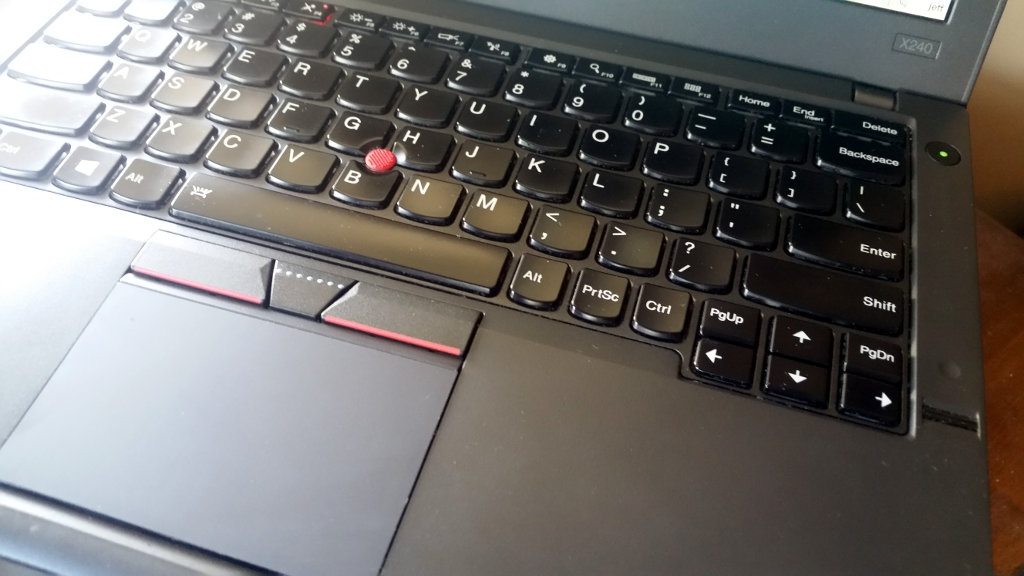
If you know about Thinkpads, you probably noticed the difference right away. The x240 (and other models that year) suffered from an incredibly crappy buttonless touchpad. It’s so bad that it’s barely usable. Clicking is ridiculously inaccurate: there’s so much travel that the mouse pointer moves during a click, and there are no buttons to use instead. There were so many complaints that Lenovo replaced it with a better one in the next year’s lineup.
This weekend I finally got around to upgrading it with a touchpad replacement part for the x250. It cost $32 on ebay. This modification is popular, so you can find info about it scattered around in forums and such. I followed the instructions on this page, How to change an x240 trackpad, as it’s one of the clearest ones out there. I couldn’t find much info about the author, whose name appears only as “Michael” on that blog.
Some notes and tips from my experience:
1) Michael’s picture shows a set of wires connected to the touchpad along its side, but mine didn’t have them.
2) The touchpad sits in a well, held in place with adhesive tape, so to remove it, you just pry it off. The problem is that it’s hard to reach “under” the entire touchpad assembly, which is sort of like a sandwich with layers. I ended up partially prying off the top layer before I could get to the bottom and pry the whole thing from the case. Needless to say, this bent the touchpad.
I couldn’t figure out a way to avoid effectively destroying the old touchpad. But since it was so crappy, it was also somewhat satisfying.
3) Detaching and re-attaching the small ribbon cable from/to the underside of the touchpad is VERY tricky. The end of the ribbon is held in place to the connector on the touchpad by a thin black “latch” sitting just behind it. You CANNOT just yank the ribbon out. (This took me a while to figure out!) Lift the black latch, and the ribbon will slide from the connector easily. When connecting it to the new touchpad, tuck the ribbon end securely into the connector, then flip the latch down to lock it in place.
4) At first, the new touchpad wasn’t being recognized by the machine. It worked after I re-seated the ribbon in the connector and also reset the BIOS (as shown in this video: stick a paper clip end into the tiny hole beside the battery and press for 20 seconds). I should have tried those things separately, but got a bit too excited. So you may or may not have to do a BIOS reset.
So far so good. The new touchpad is definitely a big improvement. There’s much less click travel using the pad, and it feels snappier. I really like having the buttons.
The only quirk is that the surface of the touchpad now sits just a hair higher than the palm rest. It’s probably slightly more likely for my hand to accidentally brush it while typing, as compared to the original touchpad, but only time will tell for sure.
It feels like a totally different computer.